Friday, December 12, 2014

Final day: Part 2

For the assembly of the project housing (Envoy 2.1), the parts below are what we used to put the assembly together.
Base
Front Window
Back Window
Top
Hood

Back bumper
Hood and trunk


Side


Also, the final code for the project can be found at this web address; https://github.com/ericcarey112/The-final-code/blob/master/final%20code
Final layout of Project

Final day: Part 1

Acrylic prototype (Envoy 2.1)/Project Housing
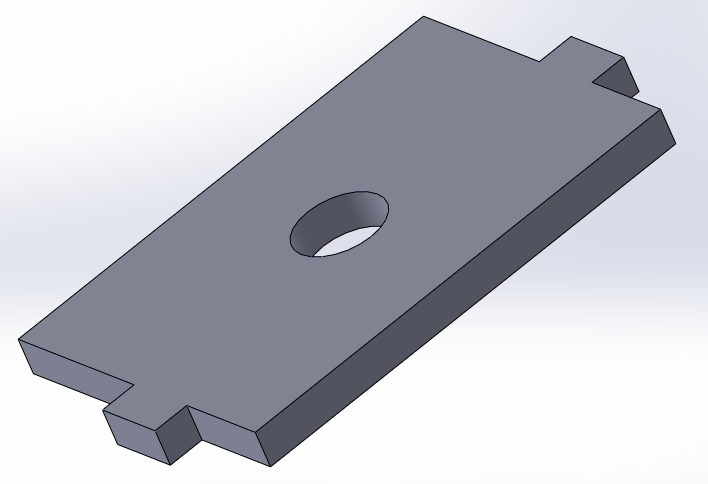
Today, we were able to finish the entirety of the project. We were able to finish the prototype/project housing, envoy 2.0 but we also upgraded that to a Plexiglas/acrylic form of that prototype. Therefore, we came up with Envoy 2.1. We managed to laser cut all the parts to assembly successfully and the main assembly came out pretty sturdy. We added a switch mechanism to the main project set up that way we could switch it the LCD display on and off for presentation purposes as well as power-saving purposes.
The video below talks about Envoy 2.1 and the integrated circuit chip that was added to the main lab setup to blink the LED lights and give our project a cool dimension to it. The LEDs' also respond to the switch mechanism we added to the main project. Therefore, essentially, the switch controls two different tasks at the same time.
Also, for the ping sensors, we had to change from the lv-maxsonar-ez ultrasonic sensor (one sensor) to the parallax ping sensor (two sensors) because the lv-maxsonar stopped working. So because the parallax ping sensor is a two-headed ultrasonic sensor as opposed to the lv-maxsonar, we had to rebuild the back bumper of the envoy 2.1 prototype.
Lv-maxsonar-ez ultrasonic sensor
Cardboard prototype/ Project housing (Envoy 2.0)

Main project setup

Day 6

For the Design Lab Expo, we are going to refine envoy 1.0, which was the prototype design that we put on display for the Dean's challenge. Envoy 1.0 comprised of a cardboard house and acrylic locomotive. The design was able to put across the idea we were working on but not in the best way possible hence the need for an improvement. In our next prototype, Envoy 2.0, we are planning on putting together an assembly in solidworks to model a car and make some cuts and extrusions to make room for the LED display board and the ping sensor.

Working on Envoy 2.0 in ME Lab!
Envoy 1.0 (Ping sensor hole)
Envoy 1.0 (LED display board hole)

Thursday, December 11, 2014

Day 5

Today the group created a new design for the housing of our prototype. The following image shows the final assembly made in Solidworks of the updated design. The new design has a cutout for the ping sensor, LCD, and a switch to turn the electronics on or off which is positioned in the back of the prototype out of sight.


Thursday, December 4, 2014

Day 4

For today we managed to design a moving car of some sort using a pegboard, screws and bolts and 2 pairs of wheels. The setup for the main part of the functioning part of the project includes 2 breadboards, an arduino board and a display board. This setup will go on top of the peg board of the makeshift car and will then be covered by a box that we designed in solid-works.
The display board will be on the outside of the cover-box so that the car approaching can read off it. The ping sensor will have to be placed on the outside as well in order to lessen the interference in front of it.


Above the photos of the pegboard that we put together. As explained before, the main project setup will on top of the pegboard in top picture. The numerous holes in the pegboard will enable us to easily screw the cover-box over the set up.